

Discover the proper humidor lighting steps to protect your cigars. Ensure optimal preservation while showcasing your collection beautifully.
Proper humidor lighting is defined as the controlled use of low-heat LED technology inside a cigar storage cabinet to maximize visibility while protecting cigars from heat, UV exposure, and humidity disruption. The proper humidor lighting steps you follow determine whether your collection ages gracefully or suffers silent, irreversible damage. Get the lighting wrong and you risk wrapper degradation, flavor loss, and a climate system working against itself. Get it right and your humidor becomes both a sanctuary and a showcase, worthy of the cigars it holds.
What are the proper humidor lighting steps to follow?
Low-heat LED lighting is the definitive standard for humidor illumination. Integrated LED systems prevent temperature fluctuations and maintain the ideal cigar storage range of 65–70°F. Incandescent and halogen bulbs generate localized heat spikes that warp wrappers and accelerate moisture loss. The difference is not subtle. A single halogen bulb positioned near a shelf can raise the local temperature by several degrees within minutes, disrupting the entire climate balance your humidification system works to maintain.
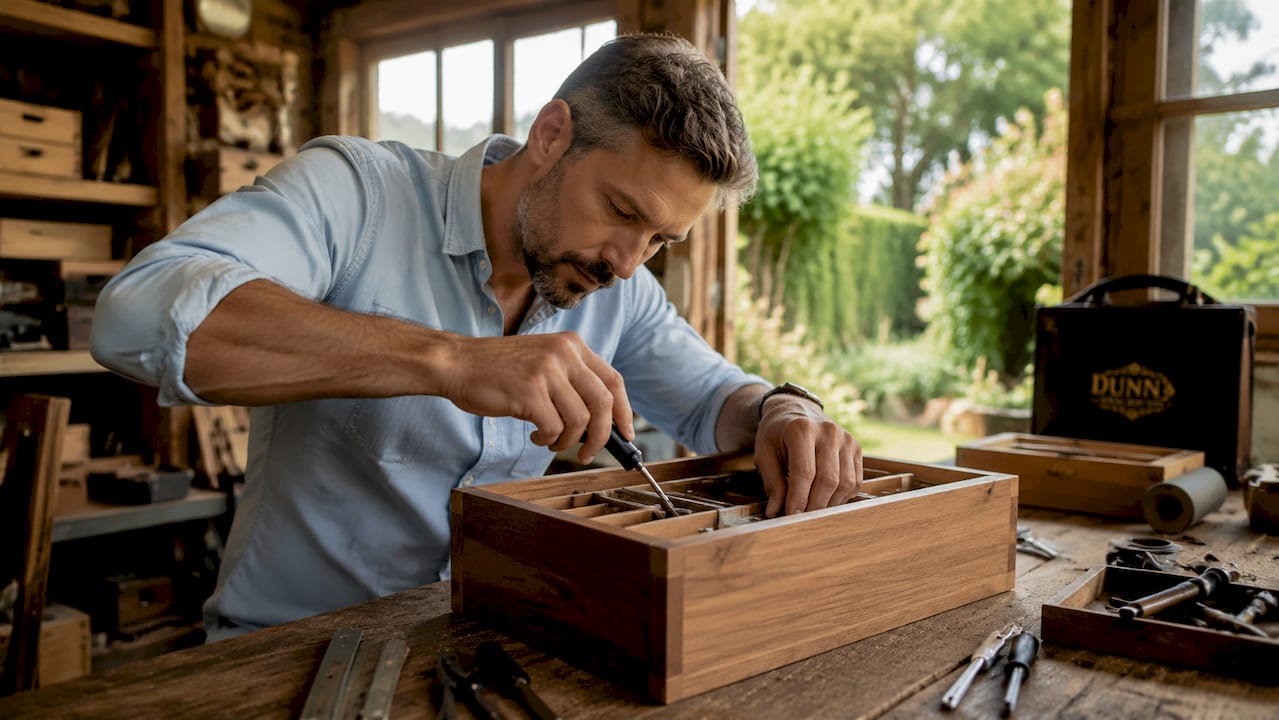
The step by step humidor lighting installation process begins with understanding what you are installing and why. You need low-voltage LED strips, a compatible power supply, aluminum mounting channels with frosted diffusers, adhesive cable clips, and isopropyl alcohol for surface preparation. Each component serves a specific preservation function, not just an aesthetic one.
Choosing the right LED specifications
Select LED strips rated for 12V or 24V systems. A 24V system delivers more consistent brightness across longer runs, which matters in cabinet humidors. Choose a color temperature between 2700K and 3000K. That warm white range renders the natural browns and mahoganies of your cigars accurately without the clinical harshness of cool white LEDs. Dimmable drivers are worth the added cost. Dimmable, controlled lighting limits exposure duration and reduces cumulative heat load over time.
- LED strips: 12V or 24V, warm white (2700K–3000K), dimmable
- Power supply: rated at least 20% above your calculated load for thermal headroom
- Aluminum channels: with frosted diffusers to dissipate heat and soften light
- Mounting clips: adhesive-backed, spaced every 12 inches for humid environments
- Isopropyl alcohol: 70% or higher for surface cleaning before adhesion
Motion-activated controllers add another layer of protection. They cut power the moment you close the cabinet door, eliminating the most common source of heat accumulation: forgetting the light is on.
How to install LED lighting inside a humidor step by step
This installation guide applies to both cabinet humidors and large desktop units. Follow each step in sequence. Skipping surface preparation or cable management steps creates problems that are difficult to fix once the unit is loaded with cigars.
-
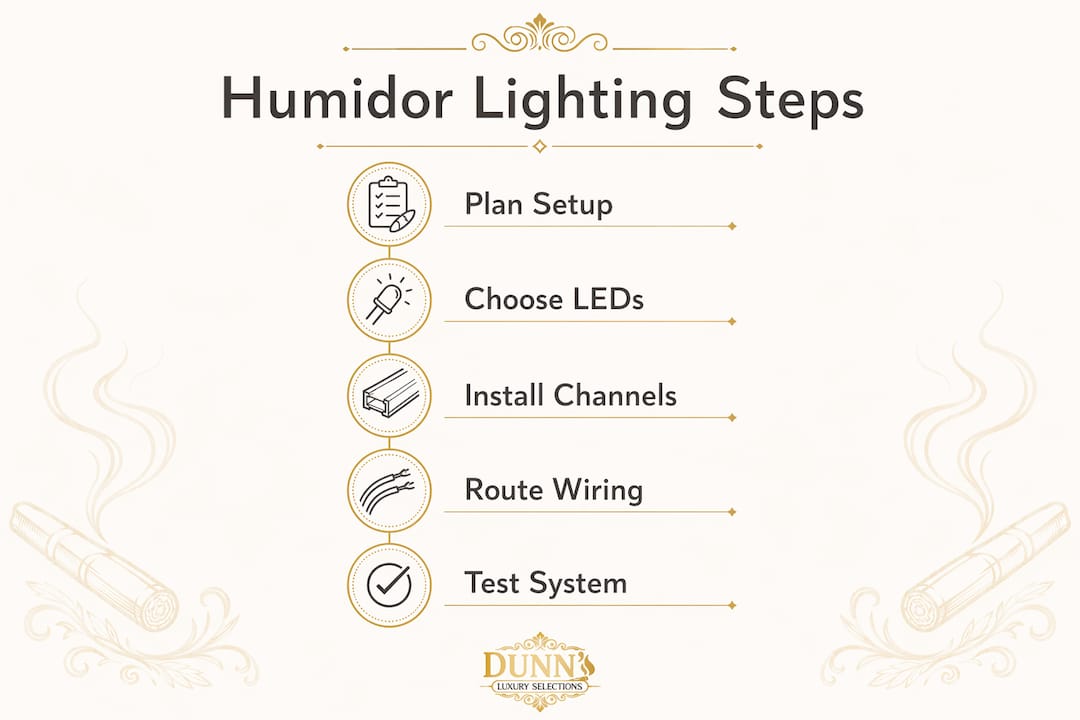
Measure the interior perimeter. Run a flexible tape measure along every shelf edge and interior wall where you plan to mount strips. Add 10% to your total for cuts and corners.
-
Calculate power load and select your supply. Multiply the LED strip’s wattage per meter by your total strip length. Choose a power supply rated at least 20% above that figure. This headroom prevents the supply from running hot in a sealed environment.
-
Clean all mounting surfaces. Wipe every surface with isopropyl alcohol and allow it to dry completely. Spanish Cedar interiors require extra attention. The natural oils in the wood reduce adhesive bond strength, so a thorough clean is non-negotiable.
-
Cut and fit aluminum channels. Measure and cut your aluminum channels to length using a fine-tooth saw. Slide the LED strip inside the channel before mounting. The channel acts as both a physical shield and a heat sink for LEDs, preventing temperature increases inside the cabinet.
-
Mount channels and secure with clips. Press the channel firmly against the cleaned surface. Use adhesive-backed mounting clips every 12 inches. In humid environments, standard adhesive alone will fail within weeks.
-
Route cables along edges. Adhesive cable clips keep wires flush against walls and shelves. Cables that dangle or cross open spaces snag on cigars and compromise the clean interior aesthetic.
-
Pass wiring through existing ports. Never drill into the humidor body for wiring. Use existing drainage holes or route cables carefully through door seals. Drilling compromises the airtight integrity that your humidification system depends on.
-
Connect to power supply and test. Power on the system and check every strip for consistent brightness. Hold a thermometer near the strips for five minutes. If ambient temperature rises more than 1°F, recheck your power supply rating and channel placement.
Pro Tip: Leave a small loop of slack in the cable near each shelf bracket. Proper cable slack allows shelves to be repositioned without pulling wires taut, and it keeps the interior looking clean rather than rigged.
| Installation method | Heat impact | Airtight integrity | Recommended |
|---|---|---|---|
| LED strips in aluminum channels | Minimal | Preserved via existing ports | Yes |
| Bare LED strips, no channel | Moderate | Preserved | Partial |
| Incandescent or halogen bulbs | High | Compromised by drilling | No |
| Fluorescent tubes | Moderate to high | Compromised by drilling | No |
What lighting mistakes damage cigars and how do you fix them?
The most common and damaging mistake is leaving the humidor light on continuously. Extended lighting exposure causes heat accumulation that forces your humidification system to compensate constantly, accelerating moisture loss and stressing the cigars. Activate lighting only for inspection or display. That is the single rule that prevents the majority of lighting-related cigar damage.
Other critical errors include:
- Using non-LED light sources. Incandescent and halogen bulbs raise localized temperatures rapidly. Even a brief session with a halogen bulb near your top shelf can cause visible wrapper cracking over time.
- Skipping UV protection. Direct UV exposure degrades the oils in tobacco leaf wrappers, stripping flavor compounds and causing premature aging.
- Improper wiring. Cables routed carelessly across shelf surfaces snag cigars and can pull strips loose, creating exposed connections in a humid environment.
- High-intensity LED strips. Brightness above what is needed for clear visibility adds unnecessary heat. Choose strips with moderate lumen output, not the highest available.
“Lighting should highlight cigars subtly without overwhelming the cabinet, emphasizing preservation over display showmanship.” — CFL Custom Carpentry
Troubleshooting common issues: If strips dim unevenly, check for voltage drop across long runs. A 24V system handles longer distances better than 12V. If adhesion fails, the surface was not cleaned thoroughly before installation. Re-clean with isopropyl alcohol, allow full drying time, and remount. If the interior temperature creeps above 70°F after installation, your power supply is running above capacity or your channels are not dissipating heat effectively.
How does proper lighting fit into overall humidor climate control?
Lighting is one component of a balanced preservation system, not an independent feature. The ideal humidor environment maintains 65–70°F and 70–74% relative humidity with minimal fluctuation. Every lighting decision you make either supports or undermines those targets.
Placement of the humidor itself matters as much as the lighting inside it. Keep the cabinet away from direct sunlight, heating vents, and exterior walls that experience temperature swings. Even with perfect internal lighting, an external environment that fluctuates by 10°F will defeat your climate control system.
Use a calibrated digital hygrometer to monitor conditions after installation. Check readings 24 hours after powering on the lighting for the first time. If humidity drops or temperature rises, your lighting is adding more heat load than the system can absorb.
| Condition | Target range | Lighting impact |
|---|---|---|
| Temperature | 65–70°F | LED strips add minimal heat when channeled |
| Relative humidity | 70–74% | Continuous lighting accelerates moisture loss |
| Light exposure duration | Brief, controlled | Motion sensors or manual off habit required |
| UV exposure | Zero direct | Frosted diffusers and warm LEDs reduce UV output |
Organize cigars so that no single row sits directly beneath a strip. Stagger placement to avoid light hotspots on specific bands or wrappers. For collectors with large cabinet humidors, precision climate-controlled units with integrated lighting and zonal humidity management eliminate the guesswork entirely. These systems are engineered so that lighting and humidification work in concert rather than in conflict.
Pro Tip: Pair your lighting setup with a quality electronic humidifier like the Cigar Oasis Plus. Electronic humidifiers respond faster to humidity fluctuations caused by heat, keeping your relative humidity stable even when the light is briefly on.
Key Takeaways
Proper humidor lighting requires low-heat LED strips in aluminum channels, brief activation habits, and wiring routed through existing ports to preserve airtight climate control.
| Point | Details |
|---|---|
| LED is the only viable light source | Incandescent and halogen bulbs cause heat spikes that damage wrappers and disrupt humidity. |
| Aluminum channels are non-negotiable | They act as heat sinks and physical shields, keeping strip heat away from cigars. |
| Never drill for wiring | Route cables through existing ports to preserve the humidor’s airtight seal. |
| Activate lighting briefly | Continuous use causes heat accumulation; use motion sensors or manual discipline. |
| Monitor conditions after installation | Check temperature and humidity 24 hours post-install to confirm the system remains balanced. |
Lighting as craft: what I’ve learned after years of humidor builds
The aficionados who get humidor lighting wrong almost always make the same mistake. They treat it as decoration first and preservation second. I’ve seen beautiful cabinet builds with warm amber LEDs glowing continuously, cigars aging unevenly on the top shelf, and owners wondering why their Maduros are drying out. The light was the culprit every time.
What I’ve found actually works is treating the lighting circuit as part of the climate system, not an add-on. That means sizing the power supply conservatively, running channels on every strip, and building in a motion sensor from day one. The motion sensor is the single upgrade most DIY installers skip because it feels unnecessary. It isn’t. It removes human error from the equation entirely.
Cable management is where the craft shows. A humidor with clean, flush cable runs along Spanish Cedar walls looks intentional. Cables zip-tied to a shelf bracket look improvised. The care guides at Dunnluxuryselections cover this in detail, and the difference in finished quality is significant.
Professional installation earns its cost in one specific scenario: large cabinet humidors with multiple shelf zones. Zonal lighting control, where different shelves can be lit independently, requires wiring discipline that most DIY setups don’t achieve. For a desktop unit holding 50–100 cigars, a careful DIY install following these steps is entirely sufficient. For a 500-cigar cabinet, bring in someone who has done it before.
— Brian
Dunnluxuryselections: humidors built with lighting in mind
At Dunnluxuryselections, we understand that proper lighting is inseparable from proper preservation. Our collection of cabinet humidors features units engineered with integrated low-heat LED systems, precision climate control, and wiring architectures that protect airtight integrity from day one.

For collectors who want the lighting and climate system to work together without compromise, our electronic humidors deliver zonal humidity management alongside bespoke lighting configurations. Whether you are upgrading an existing cabinet or selecting your first precision-built sanctuary, Dunnluxuryselections carries the instruments worthy of your collection. Reach out directly for personalized guidance on lighting configurations and humidor selection.
FAQ
What is the best lighting type for a humidor?
Low-heat LED strips are the best lighting for humidors. They maintain stable temperatures in the 65–70°F range and produce no UV output that degrades tobacco wrappers.
How long should humidor lights stay on?
Humidor lighting should be activated only for brief inspection or display. Continuous use causes heat accumulation that disrupts humidity and damages cigars over time.
Can I drill into my humidor to route wiring?
Never drill into the humidor body for wiring. Use existing drainage holes or route cables through door seals to preserve the airtight seal that humidity control depends on.
What voltage LED strips work best for humidor lighting?
24V LED strips are preferred for larger cabinet humidors because they maintain consistent brightness across longer runs without voltage drop. 12V strips work well in smaller desktop units.
Do I need aluminum channels for LED strips inside a humidor?
Aluminum channels with frosted diffusers are strongly recommended. They act as heat sinks that prevent temperature increases inside the cabinet and protect the strips physically from contact with cigars or shelves.
Recommended
You May Also Enjoy
Cigar Collection Insurance: How to Protect Your Humidor
Home policies often cap or exclude cigars. Learn how floaters, agreed value, appraisals and inventories protect a serious...
Read Article
Cigar Locker Dimensions: Sizing Guide for Collectors and Lounges
Cigar locker dimensions explained: compartment sizes, cabinet footprints, capacity math and clearances, so you size a locker bank...
Read Article
Sealing a Walk-In Humidor: Envelope, Door and Penetrations
How to seal a walk-in humidor properly: vapor barrier placement, door gasket, penetrations and the controlled airflow a...
Read Article