

Discover the step-by-step process for restoring vintage humidors. Bring your antique cigar storage boxes back to life and preserve their charm.
TL;DR:
- Restoring vintage humidors involves careful inspection, cleaning, and seasoning to create a stable environment for cigars.
- Use only distilled water throughout the process and avoid rushing the seasoning to prevent damage.
Restoring vintage humidors is the methodical craft of inspecting, cleaning, repairing, seasoning, and maintaining antique cigar storage boxes so they retain their original character while reliably protecting your cigars. The goal, as Cigar Aficionado makes clear, is creating a stable environment at 65–72% relative humidity, not reversing damage already done to the cigars inside. A vintage humidor that has sat dry for years can absolutely be brought back to full function, but only through patience and the right sequence of steps.
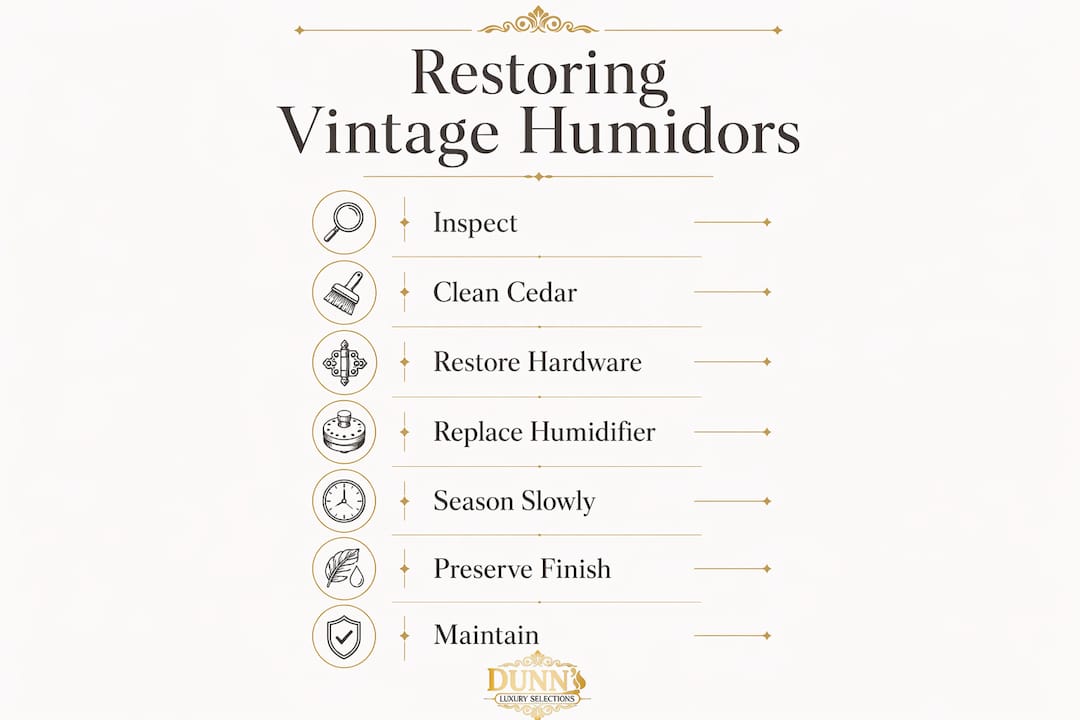
The restoration of antique humidors follows a clear workflow:
- Inspect the interior cedar lining, veneer, joints, and hardware for structural damage
- Clean the cedar with fine sandpaper, a soft vacuum, and distilled water only
- Address hardware by testing for lacquer, then cleaning gently to preserve original patina
- Replace or refresh the humidification device and add a calibrated digital hygrometer
- Season gradually using damp sponges over multiple cycles of 48–72 hours each
- Preserve the exterior finish through conservation cleaning and waxing, never stripping
- Maintain long-term with monthly moisture checks and routine, gentle hardware care
Two mistakes end more restorations than any structural flaw: using tap water at any stage, and rushing the seasoning process. Mineral deposits from tap water leave chalky residue that ruins both the cedar and the cigars it houses. Rapid wetting swells joints and cracks veneer that survived decades intact. Every step in this guide is built around avoiding both.
Step 1: Inspecting the interior and structural condition
Before any cleaning or repair begins, a thorough inspection tells you exactly what you are working with. Open the humidor in good light and examine every surface with the same deliberate attention a watchmaker gives a movement.
What to look for inside:
- Cedar lining condition: surface staining, warping, or water damage that has lifted the wood grain
- Cracks running horizontally along the case sides, which typically indicate the humidor was over-humidified or stored in extreme dryness
- Veneer lifts, chips, or splits at corners and edges, where wear accumulates fastest
- Joint integrity at all four corners, checking for gaps, loose glue, or visible filler
- Hinge function and seal quality, since a lid that does not close flush will never hold humidity
Repaired splits with visible glue lines or mismatched filler reduce a humidor’s collector value considerably, so document what you find before touching anything. Small veneer lifts can be reglued with hide glue; larger structural splits require more careful attention and, in some cases, a professional woodworker.
One category of damage deserves special caution: “married” humidors assembled from mismatched parts. Inspect the patina on all hardware and interior elements for inconsistencies. Mismatched drill holes, hardware of different ages, or an interior cedar lining that has been artificially stained to simulate age are all signals that the piece is not entirely original. An honest cedar reline is acceptable and often improves usability; an undisclosed one that has been antiqued to deceive is a red flag for the integrity of the whole piece.
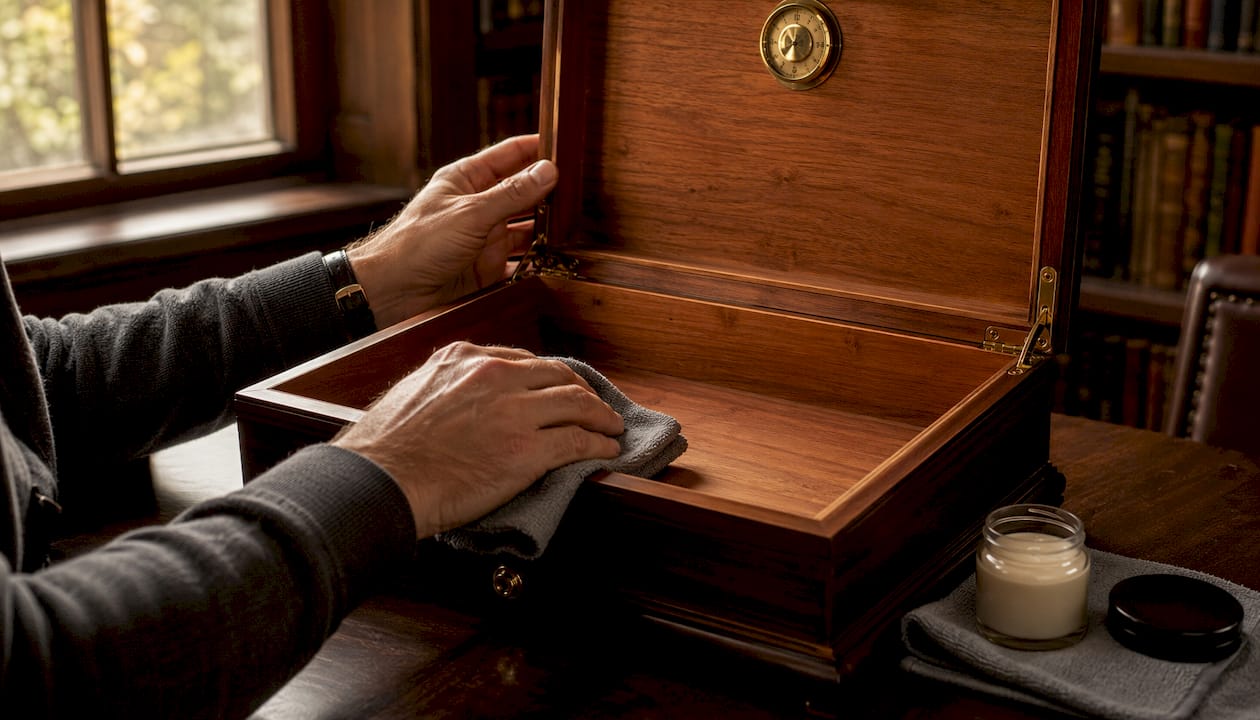
Period-accurate interior elements like rare white glass panels present their own challenge. Replacing broken glass of the correct thickness often requires custom fabrication, since standard sheet glass rarely matches original specifications. The restoration of a historic mahogany humidor from the estate of Robert W. Woodruff, longtime CEO of Coca-Cola, illustrated this precisely: sourcing period-accurate 1/16" white glass proved impossible, requiring a custom solution from a leaded glass shop and modification of the retaining moldings to accommodate the slightly thicker replacement material.
Step 2: Cleaning and refreshing the cedar lining
Spanish Cedar is the functional heart of any humidor. It regulates moisture, imparts the subtle aromatic character that complements fine cigars, and forms the microclimate your collection depends on. Cleaning it requires a light touch and the right materials.
Start by lightly sanding the interior surfaces with 400-grit sandpaper, working with the grain. This removes surface staining and lifts any compressed wood fibers without cutting into the cedar itself. Follow immediately with a thorough vacuuming using a soft-bristle attachment to pull all dust and sanding residue from corners, trays, and dividers. Leaving cedar dust inside defeats the purpose of the cleaning entirely.
For odor removal, a targeted approach works better than airing alone. Spraying the interior with a 50% hydrogen peroxide solution eliminates the moldy smell common in antique humidors without damaging the wood. Apply carefully, allow it to dry completely, then leave the humidor open for several days in a well-ventilated space. Many vintage pieces have not been opened in years, and the cedar needs time to breathe before seasoning begins.
Pro Tip: Never use soap, household cleaners, or mineral-containing tap water on cedar. Even a small amount of soap residue will transfer to your cigars. Use only distilled water on a lightly dampened sponge for any wet cleaning, and wring the sponge thoroughly before it touches wood.
The prohibition on tap water applies at every stage of restoration, not just humidification. Minerals in tap water leave chalky deposits on cedar that are nearly impossible to remove and will impart an unpleasant alkaline character to any cigar stored afterward.
Step 3: Removing, cleaning, and preserving humidor hardware
The brass locks, hinges, escutcheons, and decorative mounts on a vintage humidor carry decades of patina that no amount of replating can authentically replicate. Preserving that patina is not sentimentality; it is a direct preservation of the piece’s collector value and historical integrity.
Hardware removal and assessment:
- Remove all hardware carefully using appropriately sized screwdrivers to avoid stripping original slots
- Bag each piece with its corresponding screws in separate labeled containers
- Examine each piece for plating versus solid metal construction, since plated hardware requires different treatment than solid brass or bronze
- Note any pieces with springs or internal mechanics, which should never be soaked
The single most important step before cleaning any hardware is testing for lacquer. Apply a small amount of metal polish to an inconspicuous area, such as the back of an escutcheon. If there is no color change, the piece is lacquered and should only be buffed with a soft cotton cloth or chamois. If the cloth turns black, the hardware is unlacquered and can be cleaned more thoroughly, though still without harsh abrasives.
For unlacquered brass with surface tarnish, a hot-water bath remains one of the most effective and least damaging methods. The thermal shock causes the metal to expand slightly, breaking the bond between grime and surface. Buff dry immediately with a soft cloth. Avoid steel wool entirely; it leaves behind fibers that rust and can burnish delicate decorative surfaces in ways that are impossible to reverse.
Pro Tip: When hardware is so badly corroded that the plated finish has worn through to the base metal, professional replating is the right call. Bag each piece with its screws in a locking freezer bag, include a detailed parts list, and verify that every item is returned after plating. A period-accurate finish from a skilled plater is worth far more than an amateur polish that removes irreplaceable surface character.
Original hardware patina, as Fine Homebuilding notes, is often more valuable than a polished finish. The goal is cleaning, not brightening.
Step 4: Replacing or restoring the humidification device
Most vintage humidification devices are past their functional life. Aqua-foam inserts degrade over time, losing their ability to hold and release moisture at a consistent rate. If the original device is structurally intact, the foam inside can often be replaced; if the housing itself is compromised, a period-appropriate replacement is the better path.
Key considerations for this step:
- Never use tap water to charge any humidification device; distilled water is mandatory at every stage
- Passive devices (foam-based or crystal-based) suit smaller vintage humidors well and require no modification to the original interior
- Two-way humidity control systems, which absorb excess moisture as readily as they release it, offer more stability than single-direction passive devices
- Propylene glycol solution, mixed at a 50/50 ratio with distilled water, helps regulate humidity at approximately 70% and inhibits mold growth inside the device
- A calibrated digital hygrometer should be added even if the original period hygrometer is present; treat the antique instrument as decorative and rely on the digital reading for actual monitoring
The period hygrometer on a vintage humidor is almost never accurate after decades of disuse. Analog instruments drift, and an uncalibrated reading can lead you to believe the interior is at 68% when it is actually at 55% or 80%. A small digital hygrometer placed discreetly inside the humidor resolves this without altering the exterior appearance.
For collectors who want the precision of modern climate management without sacrificing the character of their vintage piece, Dunnluxuryselections offers the Humidor Supreme® 9000 Series as a reference point for what electronic humidity control looks like at its most refined. Understanding what precise control feels like in a modern instrument sharpens your calibration instincts when working with vintage equipment.
Step 5: Seasoning the humidor gradually for optimal cedar hydration
Seasoning is where patience separates a successful restoration from a costly failure. An antique humidor that has been dry for years must be reseasoned slowly to prevent warping and cracking. The cedar needs to absorb moisture incrementally, not all at once.
Follow this sequence precisely:
- Soak a clean, unscented sponge in distilled water and wring it until damp but not dripping.
- Place the sponge on a small plastic plate or plastic bag inside the humidor to prevent direct wood contact.
- Close the lid and allow the humidor to sit undisturbed for 48–72 hours.
- Open and check the sponge. If it has dried completely, the cedar is still very thirsty; re-dampen and repeat the cycle.
- After the second cycle, check the digital hygrometer reading. When the interior holds steadily at 65–70% relative humidity without the sponge present, the cedar is seasoned.
“Rapid wetting will swell joints and crack veneer. An antique humidor that has been dry for years should be reseasoned slowly: place a damp, not wet, sponge inside on a small dish, close the lid, and let it sit for 48–72 hours. Repeat with fresh moisture for 2–3 cycles.” — Antique Identifier
Two to three full cycles is the standard for most vintage pieces. A humidor that has been dry for a decade or more may need a fourth. The temptation to accelerate by wiping all interior surfaces with a wet cloth is understandable but genuinely damaging. Joints that survived a century of use can split within hours of being over-wetted. The cedar walls should feel slightly cool to the touch after seasoning, not wet.
Once the humidor holds humidity reliably, fill the humidification device with distilled water or propylene glycol solution, allow it to sit on a towel for 30 minutes to release any excess, then place it inside and close the lid. Leave it for another 24 hours before introducing any cigars.
Step 6: Preserving the original patina and finish on the exterior
The exterior finish of a vintage humidor is its biography. French polish, shellac, and period lacquers carry the visual record of the piece’s age, and stripping them destroys what auction houses and serious collectors grade against. Conservation, not refinishing, is the correct approach for any humidor with collector significance.
Preservation principles for exterior finishes:
- Period shellac and French polish can be cleaned and waxed without stripping; this is conservation, not restoration
- Stripping and refinishing with polyurethane destroys the original surface character permanently and reduces value
- Surface grime and embedded soil respond well to gentle cleaning with a soft cloth barely dampened with a mild solution, followed by a quality paste wax
- Carnauba-based waxes protect without altering the appearance of aged shellac or lacquer
- Test any product on an inconspicuous area first; some modern polishes contain solvents that attack shellac
Beginners consistently make the same mistake: they see a dull, grimy exterior and assume it needs to be stripped and refinished. What it usually needs is cleaning and waxing. The difference in outcome is enormous. A properly conserved original finish retains both the visual warmth of aged wood and the collector premium that comes with authenticity. A polyurethane refinish, however skillfully applied, reads immediately as a restoration and reduces the piece’s standing among serious collectors.
For cabinet-style vintage humidors where the exterior finish is a significant part of the piece’s appeal, Dunnluxuryselections’s cabinet humidor collection illustrates the standard of finish quality worth preserving. Seeing what a properly maintained lacquer or shellac surface looks like in its prime gives you a clear target for your conservation work.
Pro Tip: If the original finish is shellac and you need to address a localized chip or scratch, dewaxed shellac flakes dissolved in denatured alcohol can be applied in thin layers to blend the repair. This is the same material as the original finish and will not create the adhesion failures or visual discontinuities that modern finishes produce over shellac.
Step 7: Maintenance and long-term care of restored vintage humidors
A restored humidor is not a finished project. It is a living instrument that requires consistent attention to remain the sanctuary your cigars deserve. The maintenance rhythm is straightforward once established, but neglect compounds quickly in cedar.
Ongoing care essentials:
- Maintain 65–72% relative humidity and a temperature of 65–70°F; these are the parameters that protect both the cedar and the cigars
- Refresh the humidification device with distilled water on a regular schedule, checking the digital hygrometer weekly during the first month after restoration
- If the humidor is in active use, rotate cigars periodically to expose all sides to even humidity
- Keep the humidor closed as much as possible; every opening releases conditioned air and stresses the cedar’s moisture balance
- Clean hardware monthly with a soft chamois, buffing gently to maintain patina without polishing it away
Long-term storage requires particular care. If the humidor will sit unused for an extended period, keep a slightly damp sponge inside, refreshed monthly, to prevent the cedar from drying and cracking. A humidor stored completely dry for even a few months can require the full reseasoning process again. The cedar has memory; it will shrink and the joints will open if deprived of moisture.
Hardware maintenance follows the same conservative principle established during restoration. A monthly buff with a soft cotton cloth removes fingerprints and surface oxidation without disturbing the patina. Avoid commercial brass polishes on unlacquered hardware unless you are prepared to commit to frequent repolishing; once polished, unlacquered brass requires ongoing maintenance to prevent rapid re-tarnishing.
For collectors managing multiple vintage pieces alongside a modern collection, the Humidor Supreme® 9200 Series double-door electronic humidor offers a complementary solution. It handles the precision climate management for your active collection while your restored vintage pieces serve as the showpieces they were always meant to be.
Expert tips and common mistakes in vintage humidor restoration
The most damaging errors in vintage humidor repair are rarely structural. They are judgment calls made too quickly, usually by collectors who underestimate how much the original condition contributes to the piece’s value and character.
Mistakes that cost collectors the most:
- Over-stripping the exterior finish. Removing original French polish or shellac to apply a “cleaner” modern finish is the single most common and most irreversible mistake. Conservation cleaning and waxing almost always achieves a better result with none of the loss.
- Using tap water at any stage. Mineral deposits from tap water damage cedar, cloud lacquered hardware finishes, and leave residue that transfers to cigars. Distilled water is the only acceptable option throughout the entire process.
- Rushing the seasoning cycle. Collectors who wet the interior aggressively and introduce cigars within 24 hours routinely find split joints and warped trays within weeks. Two to three slow cycles of 48–72 hours each is the minimum for a humidor that has been dry for years.
- Skipping the lacquer test on hardware. Applying metal polish to lacquered brass clouds the finish permanently. Testing first on an inconspicuous area takes thirty seconds and prevents irreversible damage.
- Accepting “married” humidors without inspection. Mismatched patina, inconsistent drill holes, and interior linings that have been artificially aged to simulate originality are common in the vintage market. Inspect carefully before purchasing or investing restoration effort.
- Replacing original elements with non-period parts. A modern chrome hinge on an Edwardian humidor reads immediately as a compromise. Source period-appropriate hardware or have originals professionally replated rather than substituting modern equivalents.
Pro Tip: When evaluating a vintage humidor for purchase with restoration in mind, bring a small digital hygrometer and a flashlight. Check the seal by closing the lid and listening for a soft “whoosh” of air resistance. Examine the cedar lining under direct light for water staining patterns that reveal the humidor’s history of care or neglect. These two checks take less than five minutes and tell you more than any seller’s description.
The Dunnluxuryselections Journal carries additional guidance on advanced care practices for both vintage and contemporary humidors, written for collectors who treat their storage as seriously as their collection.
When a vintage humidor deserves a modern companion
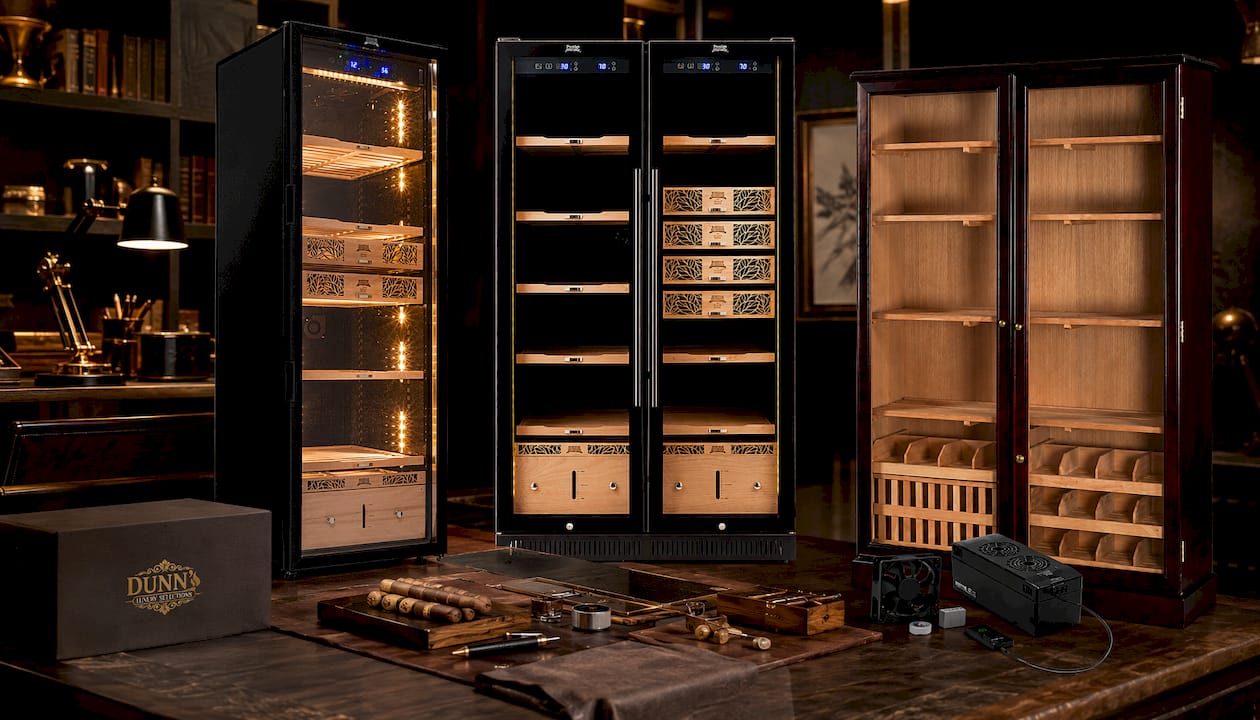
Some collections outgrow what a single restored vintage piece can hold. When that moment arrives, the question is not whether to abandon the vintage humidor but how to complement it with a modern instrument built to the same standard of precision and craftsmanship.
Dunnluxuryselections designs and curates premium cigar storage solutions for collectors who refuse to compromise. The Humidor Supreme® Commercial Display 4000 brings commercial-grade humidity management and luxury finishes to collectors who need serious capacity without sacrificing the aesthetic integrity of their space. For those building a collection that spans both heritage pieces and modern acquisitions, Dunnluxuryselections offers the expertise and the inventory to make both work together beautifully.
Visit dunnluxuryselections.com to explore the full range of premium humidor solutions, or consult directly with the team for bespoke guidance tailored to your collection.
Key Takeaways
A successful vintage humidor restoration depends on patience, distilled water at every stage, and a commitment to conservation over refinishing.
| Point | Details |
|---|---|
| Season slowly, never rush | Place a damp sponge inside for 48–72 hours per cycle; repeat 2–3 times before introducing cigars. |
| Distilled water only | Tap water minerals damage cedar and ruin cigars; use distilled water for all cleaning and humidification. |
| Preserve, do not strip | Conservation cleaning and waxing protects original shellac or French polish; refinishing with polyurethane destroys collector value. |
| Test hardware before cleaning | Apply polish to an inconspicuous area first; lacquered brass clouds permanently if polished without this check. |
| Maintain 65–72% RH long-term | Use a calibrated digital hygrometer and refresh the humidification device regularly; store with a damp sponge if unused. |
FAQ
How do you revive an old humidor that has been dry for years?
Revive it through a slow reseasoning process: place a damp, distilled water-soaked sponge inside on a plastic plate, close the lid for 48–72 hours, and repeat for 2–3 cycles until the interior holds 65–72% relative humidity without the sponge present.
Do vintage humidors need to be reseasoned before use?
Yes, always. A humidor that has been dry for any significant period will draw moisture from your cigars rather than protecting them, and rapid wetting to accelerate the process risks splitting joints and cracking veneer.
Can I store old, stale cigars in a restored humidor?
Restoration creates a stable environment going forward; it does not reverse chemical degradation already present in the cigars. As Cigar Aficionado notes, the goal is preventing further deterioration, not salvaging cigars that have already lost their character.
What is the correct humidification solution for a vintage humidor?
Use distilled water alone, or a 50/50 mixture of distilled water and propylene glycol solution. Never use tap water at any stage; the mineral content leaves chalky deposits on cedar and imparts an unpleasant alkaline taste to cigars.
How often should a restored vintage humidor be maintained?
Check the digital hygrometer weekly during the first month after restoration, then monthly once the humidor has stabilized. Refresh the humidification device with distilled water as needed, and buff hardware gently with a soft cloth monthly to maintain patina without polishing it away.
Recommended
You May Also Enjoy
Cigar Locker Dimensions: Sizing Guide for Collectors and Lounges
Cigar locker dimensions explained: compartment sizes, cabinet footprints, capacity math and clearances, so you size a locker bank...
Read Article
Sealing a Walk-In Humidor: Envelope, Door and Penetrations
How to seal a walk-in humidor properly: vapor barrier placement, door gasket, penetrations and the controlled airflow a...
Read Article
Retail Humidor ROI: How to Measure What a Display Earns
What does a retail or lounge humidor really return? A practical framework for cigar shops, lounges and clubs:...
Read Article